
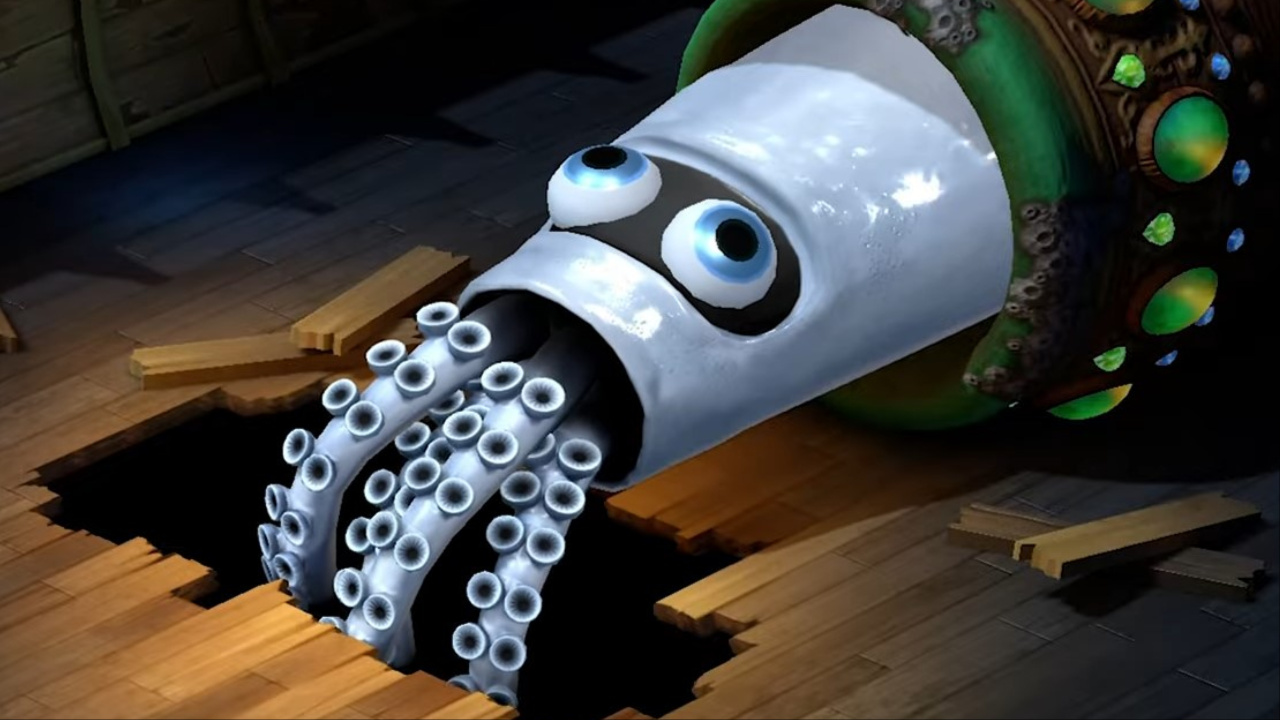
Mario and his friends need to solve a particular puzzle in Super Mario RPG that takes place in the Sunken Ship. Serving as a separate location in Mario’s world, the Sunken Ship is home to a trapped Blooper named King Calamari. It’s a boss that Mario and the crew can battle so long as they solve the Sunken Ship Treasure Puzzle to gain access to King Calamari’s domain.
The process begins with a posted log that informs Mario that the door to the cellar is locked with “a six-letter password.” With this in mind, there are six letters to uncover, all of which spell out a code to obtain entry into the Treasure Room. Players will traverse parts of the recessed vessel in Super Mario RPG for this task.
How to Solve the Sunken Ship Treasure Puzzle in Super Mario RPG
Six letters correspond with the code word Mario needs to enter the Treasure Room in the Sunken Ship of Super Mario RPG. To assemble the password, players must traverse the shipwreck and enter a hallway with doors that are accompanied by wooden green “J” blocks. Go through each door, and a puzzle will be present for you to solve. They’re all different, from a simple jump to a complicated maze where Mario is barely seen on-screen. As such, we’ll go over each puzzle, along with their supplemented clues for solving the password enigma.
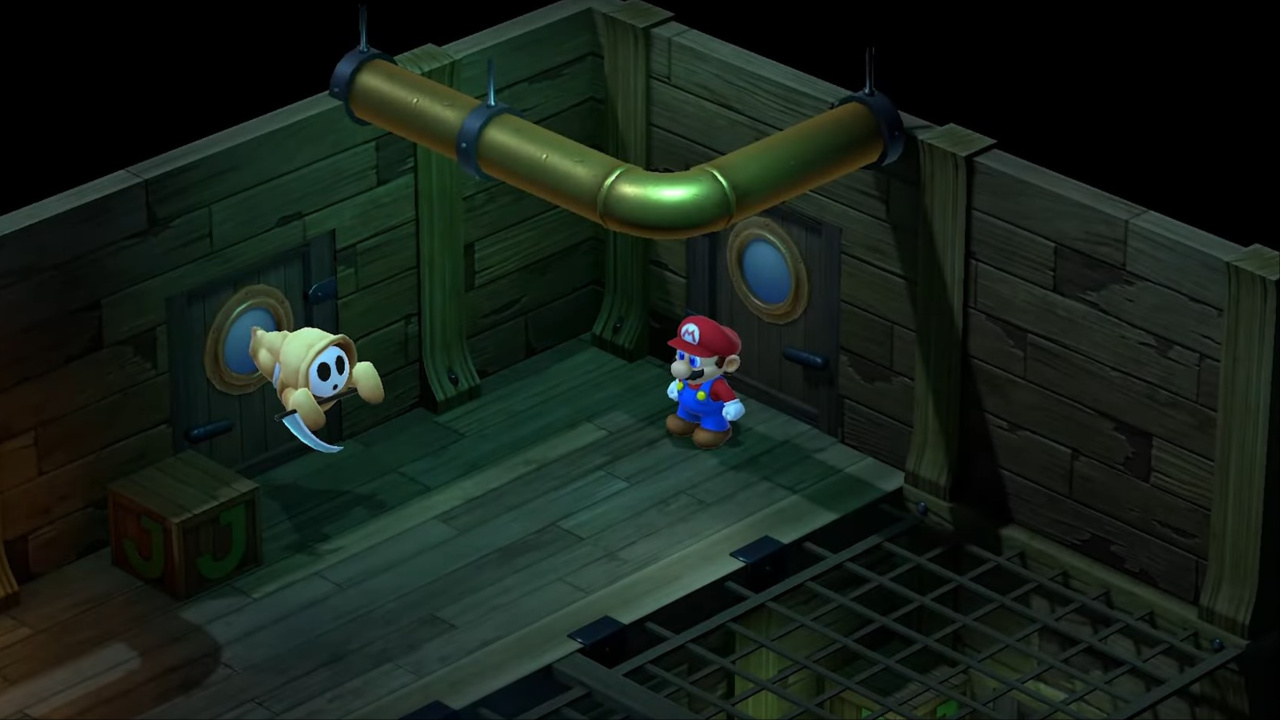
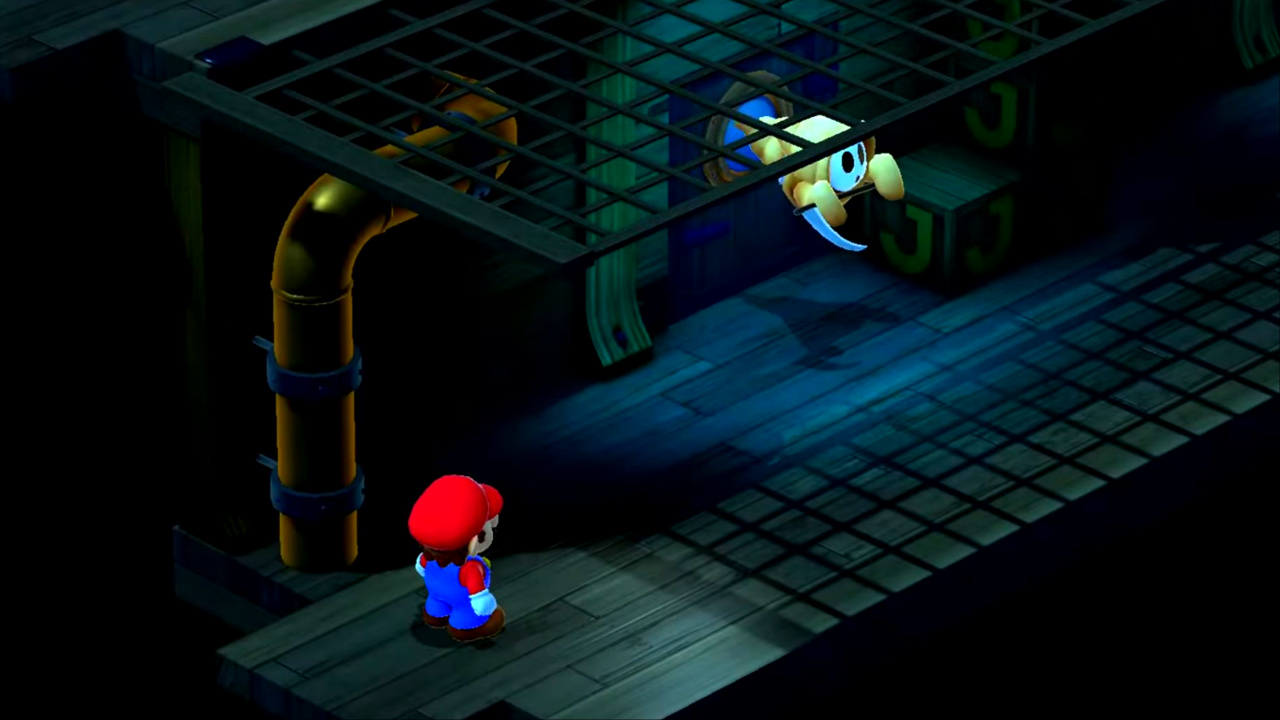
Note that each room has a green exclamation point platform to jump on. These will produce an item for Mario to collect and a scroll with information on the password. Moreover, each door is guarded by a Greaper, sometimes with a Reacher. In essence, prepare for battle before you enter each room down the hallway. It’s an excellent way to continuously level up in Super Mario RPG if you want extra XP.
Puzzle 1 – The Paratroopa Hovers
Beyond the first door is a small tower of green “J” blocks with a Paratroopa flying over them. Wait for the Paratroopa to interact with the cannonball at the top of the tower. They’ll hit the ball onto the floating green platform. This causes a Mushroom to drop, as well as the first scroll. It reads: “The adventurer Indigo’s memo: There is an ‘s’ in the word.” From there, you can proceed to the next room.
Puzzle 2 – The Triple Smiley Jump
The next room sees Mario coming face-to-face with three blue “J” blocks suspended in the air. A trinity of smiley face trampolines move along the upper platform. The objective is to hit each blue block to perfectly align with the moving trampolines, causing them to stop moving. A completed sequence will trigger a cannonball to drop onto each trampoline and land on the green platform. The arrangement doesn’t have to be perfect, just sufficient for the cannonball to bounce on all three trampolines.
Once the cannonball lands on the platform, a Flower and the second scroll will drop. It will read: “The adventurer Indigo Jr.’s memo: It is found on the bed of the ocean.” The job is done here. Proceed to the next room.
Puzzle 3 – The Crate Maze of the Sunken Ship
The complicated one of the bunch, the maze in the third room, sees Mario entering a labyrinth of crates. Players must rely on hitting walls here, for the game’s perspective primarily blocks Mario’s appearance.
First, enter the maze through the bottom entryway. Head to the back left until Mario reaches the back wall, then make a right. Take a few steps until Mario stops, then jump until you feel Mario reach the next level of the maze. Once you do, head left to expose Mario to the outside again on the left. Next, enter through the other opening on the second level and proceed until you hit the wall on the right side of the room. Then, make a left to enter another section of the maze.
Here, Mario descends back to the ground level of the room. From there, head to the middle opening and start jumping to ascend the maze levels. You’ll proceed upward by jumping toward the right side of the maze. When Mario reaches the end, jump once more to see Mario pop out through the opening of the top right of the maze. Finally, jump onto the green platform to receive Royal Syrup and the third scroll. The third scroll reads: “The 2nd expedition team’s memo: It has two vowels.” The trouble is done here, adventurer. Move on to room number four.
Special Clue with the Shaman
After the third door, the hallway comes to an end. As such, exit through the south entryway to enter a room with a Treasure Chest, a Dry Bones, and a Shaman. Speak with the Shaman (dubbed the Sunken-Ship Shaman in the game), and they’ll provide additional information for Mario, albeit with disappointing results. The Shaman will say, “I’ll give you a hint. The password’s got something to do with… the sea.” Puzzle 2’s scroll basically gives the same detail. From there, exit the room to enter another hallway with doors. This is the second set for players to progress if they wish to solve the Sunken Ship treasure puzzle.
Puzzle 4 – The Trailing Coin
Room number four features a floating gold coin. Trail behind the flying coin while it produces coins of its own. Travel with the coin around the room, going counter-clockwise until the coin reaches the door to the room. By successfully trailing the coin, the results will produce coins for Mario and the fourth scroll; there is no need to worry about a green platform here. The scroll says, “The search party Onyx’s memo: It is very valuable.” You’re good to go from here now.
Puzzle 5 – The Cannonballs Fire Away
Also known as the cannonball puzzle, room number five sees two platforms. The top row has three cannons pointing at three blue “J” blocks, with a fourth stationed at the left side of the room. The other platform is for Mario to jump up and hit the blocks. The fourth and smaller block commences the cannons to fire away their balls. Essentially, hit the small block to start the activity and wait for the cannonballs to fly under each block. Once they do, hit them in sequence from left to right. If successful, the room will drop a Mushroom and the fifth hint. It reads: “The 4th investigation crew’s memo: ‘It’ is actually a ‘they.'” After acquiring the items, exit the room for puzzle number six.
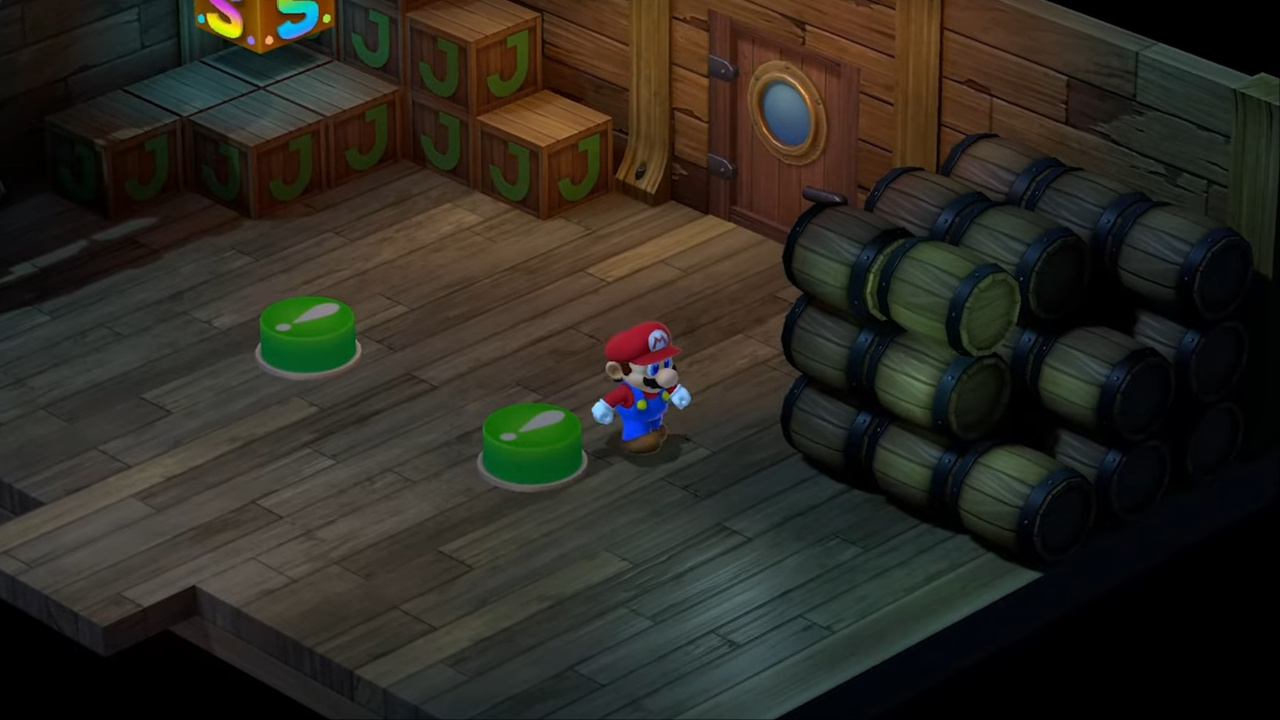
Puzzle 6 – The Wacky Barrel
The final room presents Mario and Co. with two green platforms, a pile of green “J” blocks, a save block, and a stack of barrels. Study the stack of barrels; look to the top group and then to the bottom row with two barrels. Look closely, and you’ll notice the second one’s texture differs significantly from the rest of the barrels. This is the barrel that Mario will jump on, causing it to fall to the ground. Back on the ground now, jump on top of the barrel to slowly roll it to the green platform on the right side. With the barrel in its place, step onto the left platform to solve the puzzle.
As a result, Mario receives another Mushroom and the sixth and final scroll. The text reads: “The treasure hunter Elan’s memo: The ‘R’ comes before the ‘L.'”
The Sunken Ship Treasure Puzzle Solution
With your acquired clues, enter the room of the Sunken Ship with six blue “J” blocks and a lengthy ship horn. Each block holds a pattern of letters to pick from, ultimately spelling out the Sunken Ship treasure puzzle solution. To spell the password, go counter-clockwise (starting at the top) and enter the solution “PEARLS.” With PEARLS as your password, look into the bronze-plated horn to provide the solution. From there, King Calamari beckons Mario and his friends to face him in combat, ending the Sunken Ship treasure puzzle experience in Super Mario RPG.