In Valheim the use of weapons and tools will be essential to your survival. However, after you’ve used them for a while, you may notice that they’re starting to break. If that’s the case, then you’re going to want to know how to repair tools and weapons. Thankfully, it’s not difficult!
How to Repair Tools and Weapons in Valheim

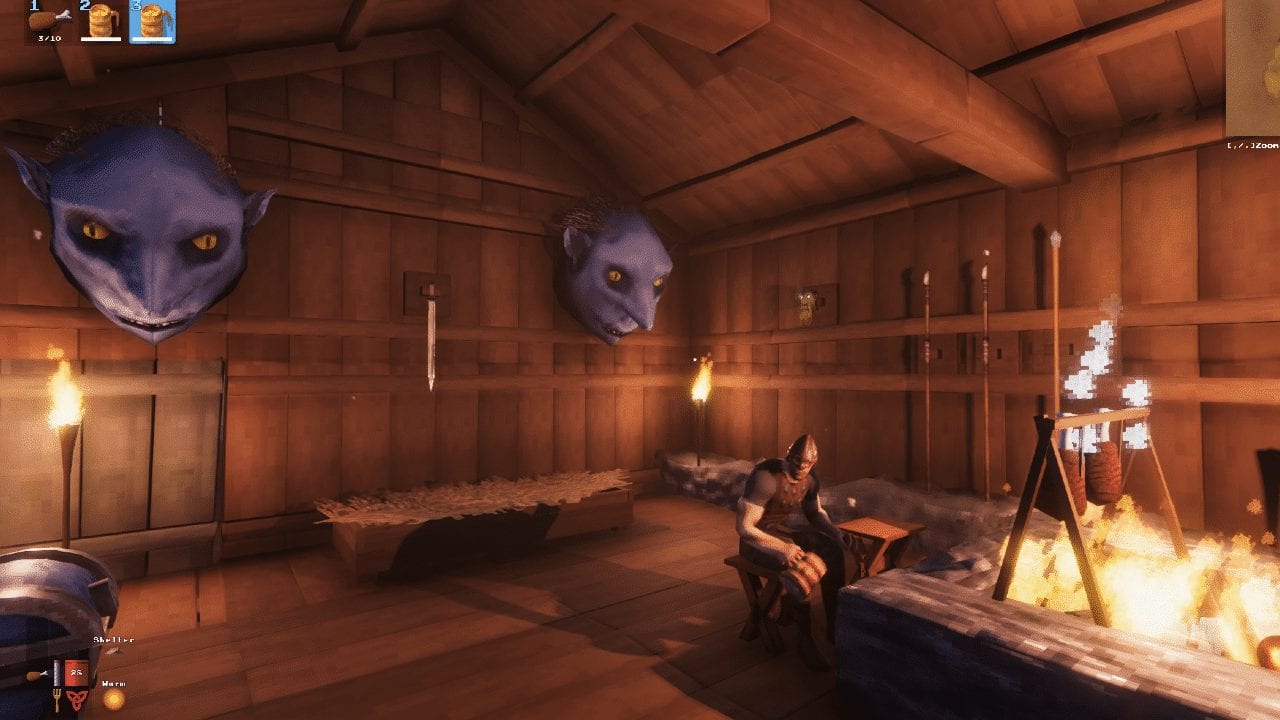
To begin repairing tools and weapons in Valhiem, you will need to build a house/shelter of some kind. It must have a roof though, as you will then need to place things down that can only be placed in a shelter with a roof.
When you have a house/shelter you will then need a workbench. You can make one by gathering 10 pieces of wood. Once this is gathered, equip your hammer and right-click to open the build menu. You should see the workbench on the crafting tab, when you do just place it somewhere where the ground is flat.
Now that you have the workbench set up, you can begin repairing your damaged tools and weapons. When you enter your workbench, you will see an area where you can craft and upgrade items. To the side (on the left) of this you should see a small blank box. Once you pick up a damaged item, this box will show a hammer icon. Drag your damaged item to this box and click it.
It’s as easy as that. Once one item is repaired, just place it back into your inventory and begin repairing another one. You may need to click a couple of times before it is repaired all the way and it may require some materials as well.
So that is how to repair your weapons and tools in the world of Valhiem. Now you can use your favorite weapons and tools forever. If you liked this guide and would like to see some more on Valhiem then check out the links below!

